The following was my experience of my first fair of the season. Both Christmas craft fairs were very successful. The first one I attended was held on a Saturday and Sunday from 10 to 4 each day. It was extremely well organised, in a lovely centre with lots of facilities. It was open to the public with no admission charge. There were many varied crafts with no two being the same. There were plenty of volunteers available for unpacking and packing the car, a well run cafe and we had lovely weather. I had a very small area in a small room but I made the most of it. My fellow crafters in the room were lovely and we had great fun chatting during the few quiet intervals. I had a prominent sign advertising I was fund raising for a well known charity and I am sure this helped with sales. However I was very proactive selling and for the most part I stood out around at the front of the stall explaining what I was selling and would go around to the back to bag sales and take payment. I was attending another fair in a couple of weeks so I was under no pressure to sell. I didn't reduce prices at any stage. As luck would have it I did sell out on a number of items and I think it slowed down sales in the afternoon on the Sunday. The low prices items encouraged people to buy and while they were at it, they were inclined to throw in another item or two.
In total I raised 851 euro.
I SOLD OUT of
Christmas Table Teasers 25 at 6 euro
Magic Reindeer food 100 at 1 euro
Chocolate snowmen 50 at 2 euro
Website and Blog books 11 at 5 euro
Desk calendar and notepad 12 at 6 euro
Earring holders 18 at 6 euro
Christmas Wreaths 3 at 15 euro
I also sold
Notebooks 28 at 4 euro
Tooth Fairy Tins 12 at 3 euro
Peg sets 7 at 3 euro
Gift cards 16 at 2 euro
Bookmarks 6 at 1 euro
Starlight mint tin 7 at 2 euro
I hope this helps my blog visitors who are preparing for their own craft fairs. Though from my experience no two fairs are the same.

Monday, December 5, 2011
Saturday, December 3, 2011
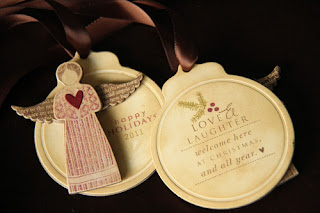
Christmas Craft Fair Items
Hope you all enjoy the above video I made today using the photos of the items I made for the past two craft fairs. I was really very fortunate. Nearly everything sold out and I raised an enormous amount of money for a very worthy cause.
I'll post tomorrow with a full list of details.
Friday, December 2, 2011
CHRISTMAS CRAFT FAIR DISPLAY

I first removed the old and worn wicker, then washed and repainted, then added two fabric baskets. The photo below just shows one of the finished frames in a mock up preparation for the fair at home.

Saturday, November 26, 2011
Bet your toes will tap and dance to this one !
"Dance with me tonight by Olly Murs"
This song has been going round and round in my head all day. I love it. It is so just right for this time of year.
I'm cutting, printing, sticking and filling as I get ready for yet another round of craft fairs. I attended one over two days a couple of weeks ago. I kept prices up hoping I would have enough bits and bobs for my next fair next week. I think I must be the only person in the world selling at a fair who doesn't want her items to sell ! As my luck would have it nearly everything did sell so I was left with the dilemma of pulling out of the next fair or just get to it and get on with it and make more items. As all monies raised are for a very good cause I just had to find some nice movies to watch and good music to listen to as I beavered away. Nearly all ready now and planning on getting some nice photos during daylight hours this week.
By the way I raised 851 euro over the two days for a very worthy cause. Thank you to all my craft buddies for your support.
Hope you enjoyed the song. Off to watch Strictly Come Dancing and maybe have a little dance in the kitchen later. LOL.
Saturday, October 29, 2011
Christmas Table Fun


I used page 3 of the pdf. file. I cut out the four pieces and used them as templates to mark out the cork tile. I then cut out the shapes using a cutting mat and sharp knife.
To form the tube of the Christmas cracker I printed out a Christmas quiz on thick white card stock 5.5 x 8 inches. The printed quiz was used to roll around the four pieces of puzzle together with a folded up piece of paper with solution to puzzle and answers to quiz. To hold it secure I used an elastic band.

and then stamped using Holiday Photo Finishers
To complete I just had to add a little red sparkler.
Saturday, October 22, 2011
Fabric Wreaths


My goodness where on earth does the time go. I was away on holidays for a few weeks and now I am up to my tonsils cutting, sticking and filling as I get ready for the Christmas fairs. I love it even though it is a little bit of a rush. No stress though it will all get done in the end. While away I spotted a lovely fabric wreath in a cute little shop in Mykonos. While chatting to the lovely owner of the shop I asked her if I could take a photo or two of some of the items on sale. I had made a little purchase so I was n't being too cheeky. She said photo away.
This is the one of the photos. The fabric is cut in strips, tied in a knot and then glued to the frame.

The following is a photo of supplies I used to make my one in the top photos. It is really simple and takes about an hour to make. I used a different method to attach the fabric. I cut in squares of about 2.5 inch and then just poked them into wreath using the little embossing tool. Any fabric can be used, different textures would be good. I wanted to create a softer look so I filled it out using lots of plain cream squares.

Wednesday, September 28, 2011
Magic Reindeer Food


This year I am planning on making the Magic Reindeer Food in these little test tubes. I first came across them hereKerryspapercrafts but I couldn't purchase them at a good price until this year. I ordered 250 of them online for this years craft fairs but accidentally I hit the order twice. They were sent to my brothers home in the US for me to collect and take back to Ireland. Thankfully some sensible person completing the order rechecked with me and I was able to confirm I only wanted 250 ! You can imagine my brother and sister-in-laws bewilderment when they arrived. To finish the story I was stopped by customs on my return journey. The guy asked where I had been, how long I had been away for and why did I have so much luggage. The poor man, I am sure he thought he had seen and heard it all until he heard my explanation for the test tubes. It was so crazy it had to be true. He waved me on my way and wished me well !
I tried to source the reindeer stamp used by Kerry on Ebay. The set was too expensive as I only wanted the reindeer stamp. I decided to make my own digital image using a card making software set. If you would like to use it to make some of your own here is a link for my download.
and the poem to punch and stick on the back of the above label
I am planning on using red sugar strands to liven up the porridge oats in the containers. So wish me happy times filling and completing the remaining 240 or so tubes.
I used a Papertrey Ink die for the tag and some bells and ribbons from stash.
Saturday, September 24, 2011
Downton Abbey - My must watch tv drama for the winter

With Downton Abbey on my mind I took down my fancy china to photo the last remaining slices of Irish Tea Brack. Mmmmm that was a nice cup of tea. It always tastes nicer in a nice cup and saucer than a plain mug to me.

Ingredients
| US | Imperial | Metric | |
|---|---|---|---|
| 1½ cups | 12 fl oz | 330ml | Cold Irish or English Breakfast tea -strong tea (one tea bag for gift jar) |
| 2 cups | 9oz | 270g | Plain or all purpose flour |
| ½ cup | 4oz | 80g | Soft brown sugar |
| 3 cups | 1lb | 350g | Mixed raisins & sultanas |
| ½ teaspoon | 1 level teaspoon | Bread soda (Bicarbonate of Soda) | |
| ½ teaspoon | 1 level teaspoon | Mixed Spice or allspice | |
| 1 teaspoon | 1 heaped teaspoon | Grated lemon rind (optional) | |
| 1 | egg | ||
I used dried mixed fruit which contained raisins, sultanas and chopped candied peel instead . I also used two eggs as they were small. You will need a 2lb loaf tin or a deep 7″ round tin for the above recipe. For the gift pack I made I used half the quantity so I will it will say on instructions to use a 1 lb loaf tin. The loaf slices easier but the round version is probably more traditional.
Method
Make a strong cup of tea with the tea bag. Put the tea, sugar, lemon rind and dried fruit in a bowl. Stir well, then cover and leave to soak overnight.
The next day, preheat the oven to 350ºF (180ºC/Gas Mark 4) and grease the loaf tin with a little butter. Beat the egg and mix it thoroughly with the fruit. Sieve the flour, spices and bread soda together and stir well into the fruit mixture.
Turn the batter into the tin, place in the oven and bake for 90 minutes. Allow the brack to cool for about 20 minutes in the tin before turning it out to cool on a wire rack. It taste delicious hot, straight from the oven but it is even nicer two days later. That is if it lasts that long.
This has to be the easiest cake to bake. It really is so simple.
Happy Baking.
Thursday, September 22, 2011
Irish Tea Brack in a Jar


For the Christmas tag I used Jolly by Golly by Cosmo Cricket and tag lifted from Danni Reid. I hope to make up the rest of the tags soon. For the Halloween jar I just used bits and pieces left over from old paper sets. I think they are from My Minds Eye.
Happy Jar filling !
Wednesday, September 21, 2011
For all you ' Jar Loving ' People

I AM A Baker
Have you ever seen a cuter Halloween pudding. I am so delighted I came across this site tonight. No paper crafting for me as I enjoy I am baker . A must for my favourites folder . I am working on packaging an Irish Tea Brack in one of my many jars at the moment and also preparing one ready for baking tomorrow. I'll photo and post with a sample packaged jar. Plan on making a half a dozen or so as easy Halloween gifts.
Monday, September 19, 2011
Websites and Blogs Book


The cardstock and felt are Rasberry Fizz by Papertrey Ink. The fabric I used on the cover is called Dogwood Trail from SewLux. Each piece is beautiful. They will look lovely on the covers of more books for the Christmas Fairs.
The link for the template if you would like to make some for yourself is
AOK's Websites and Blogs Book Template
Hope you enjoy.
Happy Monday.
Sunday, September 18, 2011
More Pincushion Jars


Saturday, September 17, 2011
Pincushion jar

Made this little lovely this morning. I first came across the idea from Martha Stewart. I like the idea but the example shown was a little plain for me. I put it on my to do list and waited on some fabric to arrive. You can imagine my delight when I found one of my favourite designers posted this
http://lilybeanpaperie.typepad.com/.a/6a00d83451de2169e2014e8b29db46970d-pi
on her blog. I was in heaven. I have made half a dozen of these this morning for the Christmas charity craft fairs. I have to add the little buttons etc, make little tags, sort out packaging this afternoon and then I will photo and post. Love them and they cost little or nothing to make.


Monday, September 12, 2011
Happy Monday
Mad busy today. No time to craft or work on promised pdf file -just a little time to catch up on favourite blogs. Thought you might enjoy this from Erin Lincoln's Blog http://erinlincoln.blogspot.com/ and Papertrey Ink release September
I think this set would make a lovely gift or craft fair item. Papertrey Ink never fails to impress me. Just love this months release.

I think this set would make a lovely gift or craft fair item. Papertrey Ink never fails to impress me. Just love this months release.


Sunday, September 11, 2011
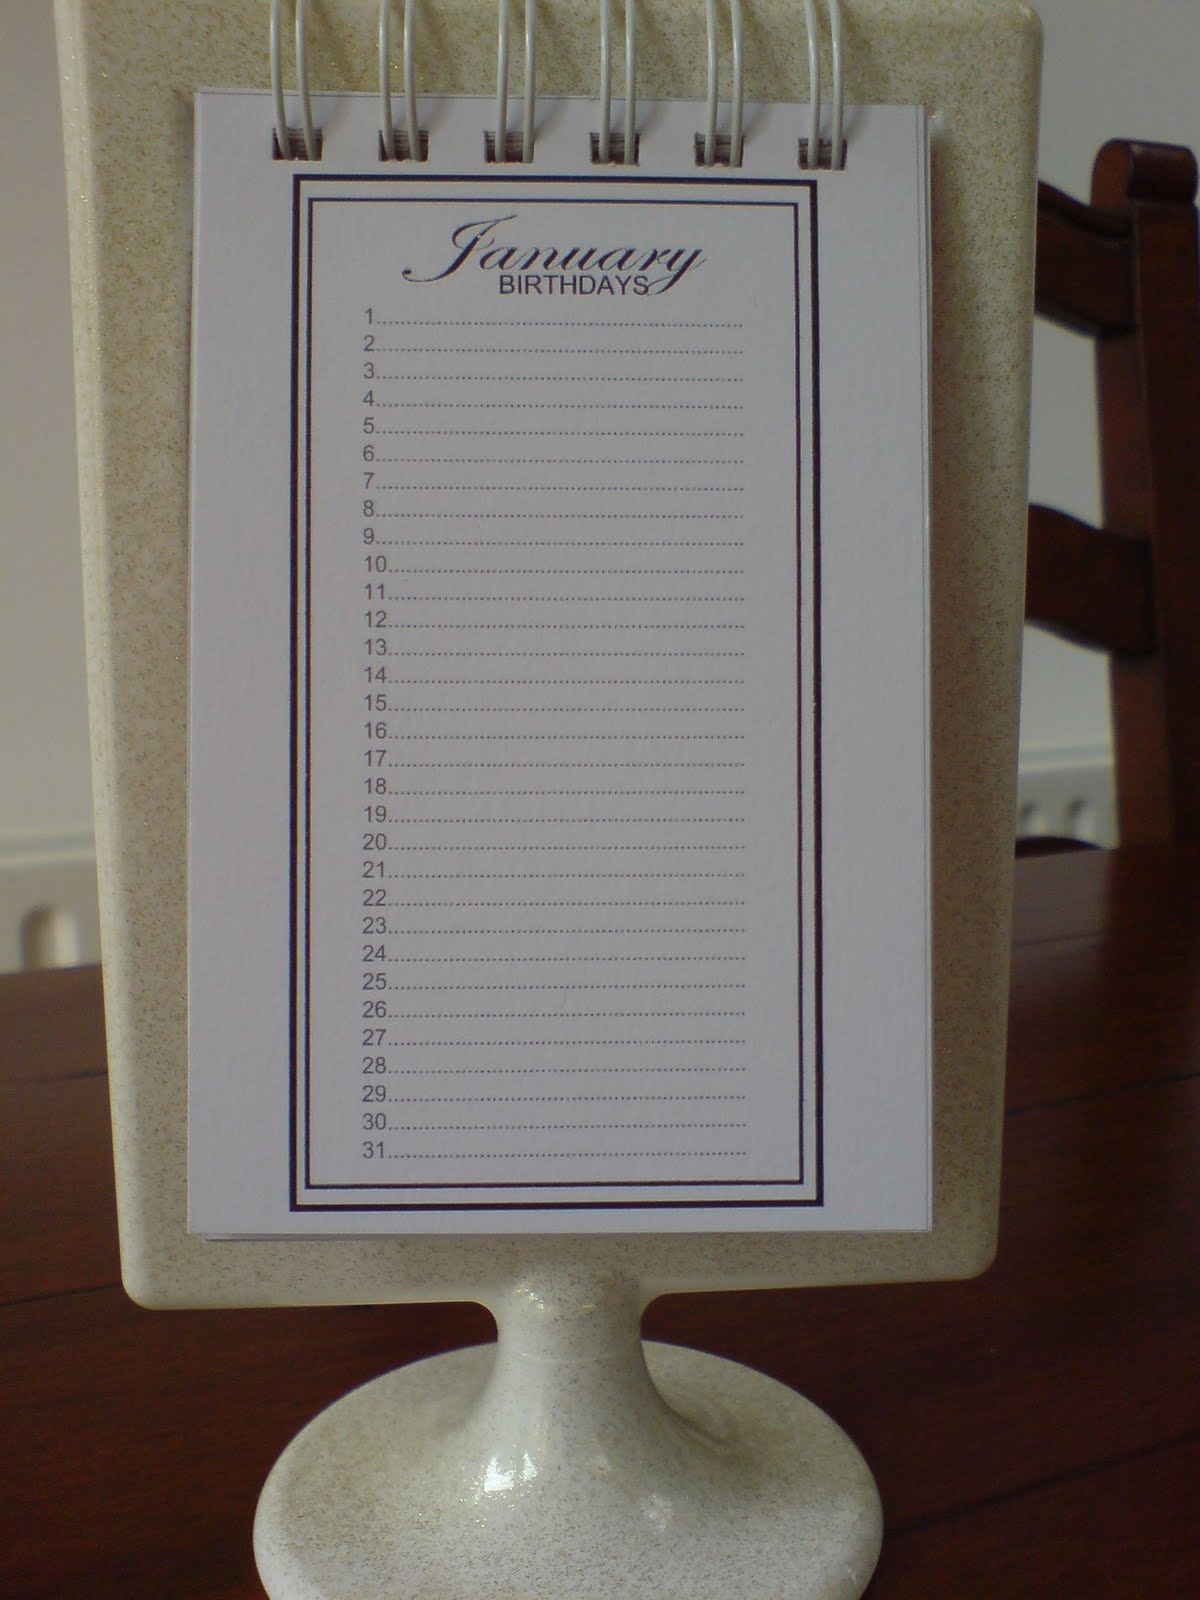
Ikea Tolsby frame - Birthday Book


These little frames are so versatile. When I googled these frames originally I came across this
http://scrapalicious-creative.blogspot.com/2011/05/100-days-of-summer.html
and wanting to make some birthday books for the craft fairs I thought I adapt the idea.
I used my bind in all to attach to frame but you could use ring clips too. All supplies I had at hand in stash.
I created a template for the months but I want to tweak it a little before I make a pdf file and share. I also have another little idea I am working on using the acrylic inserts from this frame. Will do my best to share tomorrow.
Happy Sunday !
Saturday, September 10, 2011
Earring Display


Pottering around Ikea a couple of weeks ago I came across these very cheap and cheerful Tolsby Picture frames at 79cent (euro) each. I had no idea how I would alter them but they were too reasonable and I was sure they had lots of possibilities. I came home with 30 of them !
I googled them under the image search and found the above idea.
http://www.ikeahackers.net/2011/02/tolsby-cheap-and-easy-earring-display.html
I wanted mine to look a little more expensive so I called to a DIY hardware store and persuaded the manager to sell me a sheet of metal mesh which is used as the decorative piece in radiator covers. It was damaged on one edge so the manager sold it to me with a 60 per cent reduction. With a little wire snips I cut it down to 25 pieces.
I sprayed the frame with Crafter's Companion "spray and sparkle" gold and then added a cheap and cheerful flower made using Papertrey Ink dies, added a little button and adhesive pearl.
With a little fancy packaging and tag I hope to sell 25 of the above at the Christmas Fairs.
I am working on another idea for the Tolsby Frame and hope to share with you tomorrow.
Happy Saturday !
Friday, September 9, 2011
Acrylic Post-it Holders with calendar
While on my little trip to the US I just had to buy some acrylic frames to make some post-it holders. I have to thank my extremely patient brother and sister in law for driving my around in circles so that I could find these frames at the special offer prices. We tried two Walmarts and two Joann's. What we crazy crafty women do for a bargain. LOL.
So far I have a dozen of these beauties made for the Christmas craft fairs.


I made a little pdf file for the calendar which I am happy to share. Just hit the link and print. IMPORTANT print with landscape format and A4 paper. To cut it is really easy. Just trim on the right and left along the box lines. On the bottom again along the box line and for the top leave a margin of approx .6 cm or 1/4 inch. Then cut up the months remembering to leave the margin on top of boxes. Sort in month order and use the X marked over January as guide for brads.
AOK 2012 Calendar
The size of the calendar excluding the backing card is 2 inch square.
Subscribe to:
Posts (Atom)